Showing posts with label photography. Show all posts

Tuesday, June 12, 2012

Iphoneography Review: Luminance

Hello all! Time for another Iphoneography app review...heres one I do like called Luminance. Its a cheaper app, its only $0.99 and it has a great selection of effects you can add to your photographs. It also allows you to store all your photos into a library so you don't have to upload a new picture every time you want to edit them. You can upload them all to a library, and pick and choose to edit later.


And....my final picture!

Final Thoughts: This app has some cool effects, but I personally wouldn't spend the money on it. Its limited, and I feel like there are free apps out there with just as many effects as this one. 


Monday, June 11, 2012

IPhoneography: Snapseed App Review

They say the best camera is the one you have in your pocket, for me that is my trusty Iphone :) Lucky for all us Iphone nerds, there is a plethora of amazing photography apps that can give our photos that extra umph we need.

However, there are soo many different apps, which ones do we spend money on, and which ones are just as good but free? I thought I would do a weekly feature on Iphoneography apps to help you make that decision without spending tons of money on useless apps.

So today, the first app I would like to review and show you, is my favorite one....Snapseed. It is a little pricey, but if you are going to buy just ONE iphoneography app, this should be it. I believe its about $4.00 in the app store.


Snapseed is an amazing app, because not only does it feature tons of col effects, but it also allows you to make basic adjustments that are super important when it comes to creating great photographs. You can adjust contrast, saturation, brightness, ambiance, details and more.


Black And White
There are beautiful black and white options for your photographs to give them that timeless touch.


Vintage Effects
There are some great vintage effects you can apply to your photographs, and some great textures as well.


Center Focus
This is a cool effect that allows you to focus on a certain point of your photograph, while making the background slightly out of focus.


Drama Effect
Similar to the HDR mode, there are a few different options that can give your pics a really cool look, I especially like this effect for landscape photographs.


Frames
You can add different frames around your photographs.


Here is my final picture, Love this app! I def recommend it if you want an all around, do it all photography editing app :)


xoxo
Kristen


Sunday, June 10, 2012

Adding Textures To Your Photographs

Hello everyone, hope you guys had a fabulous weekend!

Adding textures to photographs is one of my favorite things to do post processing. I feel it gives the photograph a vintage feel, and can add some grit to an otherwise perfect photograph. Its so easy to do, which is another reason why I love it so much!

Here is a tutorial on how you can add this to your photographs using photoshop, and also some free resources to get you started :)


Step 1: Open your image in Photoshop, and also open the texture you plan on using. Once you have done so, you will need to transfer your texture to the photograph. To do this, go to Select> All
Once the image is selected, you will need to copy. To do this, Edit> Copy


Step 2: Paste the image on top of your photograph.

To do so, make sure you are on the screen that has your image. Go to edit> paste.
This will paste the texture on top of your image. Next, we will need to enlarge the texture so it covers the entire image.

3. Enlarge the texture
In order to be able to transform our texture, we will need to use the free transform tool. you can do this a few ways, 
1) Command+T (or ctrl+T for a PC).
2) You can go to edit > free transform
This selects the texture and allows you to drag to enlarge. Drag all the corners so your texture covers the entire photograph (See below)


4. Play with the blend modes
The next step is to play around with our layer blending modes. There are tons of different options, and you just need to play around with them to see which suites your photograph best. You can find these blend modes in your little layer menu box to the right of the screen (see below).
I tend to stick with either Multiply, Darken, Soft Light or Overlay. For this Photograph, I chose to use Multiply.


5. Play With The Opacity
The last step is to mess with the opacity a little bit. You can leave it as is if youd like, or you can tone it down a bit. Its really up to you and your personal taste. 

And Voila! The final image! 


Here are a couple links to some amazing tutorials by Digital Photography School that explain adding textures to photographs a little bit more in depth.

Also, here are some sites where you can get some amazing, free textures!
Lost & Taken *My Personal Fav Resource*

xoxo
Kristen

Monday, June 4, 2012

Vintage Photo Frames Photoshop Tutorial

I frequent an awesome blog called Pugly Pixel. She offers tons of amazing freebies, resources and tutorials that can be used for photography and web design. Recently, she posted a great tutorial on how to create vintage looking photo frames using photoshop. I am a sucker for all things vintage, and I love toy photography so this tutorial was a lot of fun for me :) I am so happy with the results, I thought I would share them with you below. You can check out her site, and the tutorial here

xoxo
Kristen
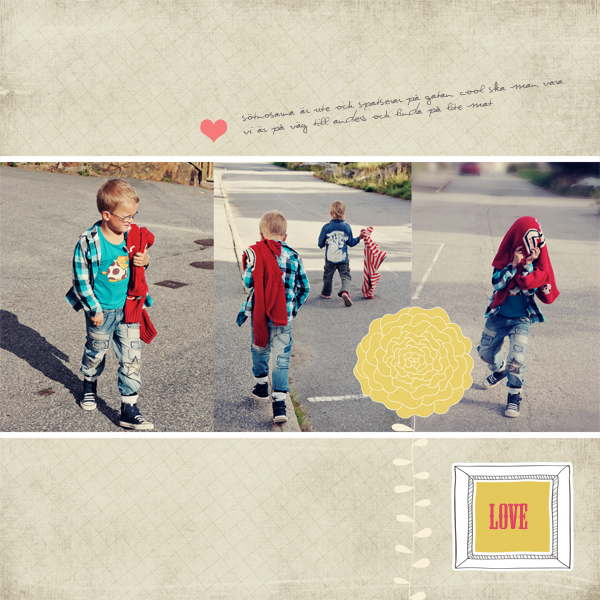
Pugly Pixel's Inspiration 


My Photos:


Sunday, June 3, 2012

Lovely Blogs


I frequently spend a good chunk of time browsing the web in search for inspiration. I have stumbled upon quite a few amazing blogs that I am obsessed with. Thought I would share them with you all once a week, they are great resources for inspiration, freebies, art and more.

Todays feature is a wonderful photography blog called "Maybe Mej". I have spend tons of time just drooling over her photos, and playing around with her free actions and templates. You have to check it out when you get some free time, but make sure to block out at least an hour because you will be hooked!

Visit her blog here

Below are some of the great things she offers on her blog :)
Digital Scrapbooking pages for download

Photo Layouts
Tons of fun digi freebies for you!


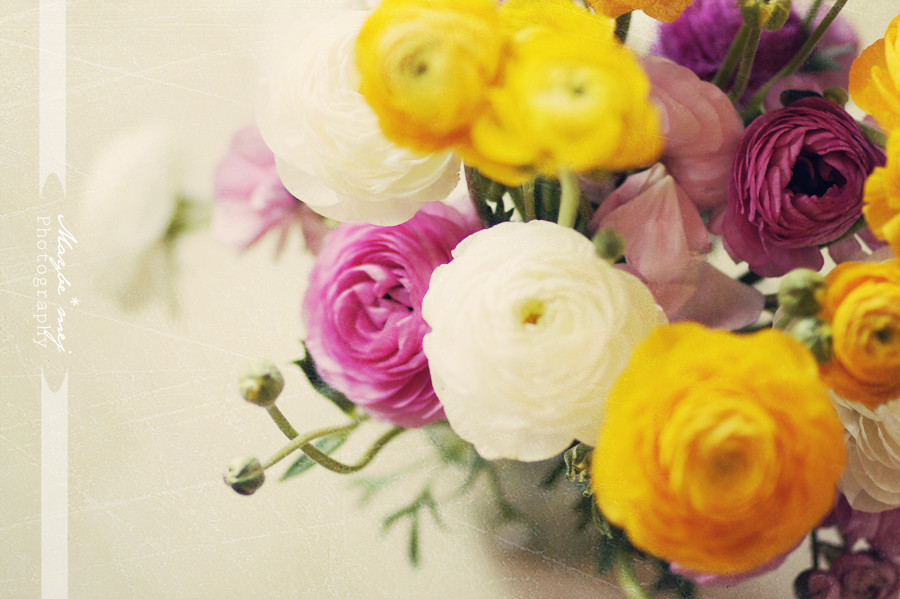
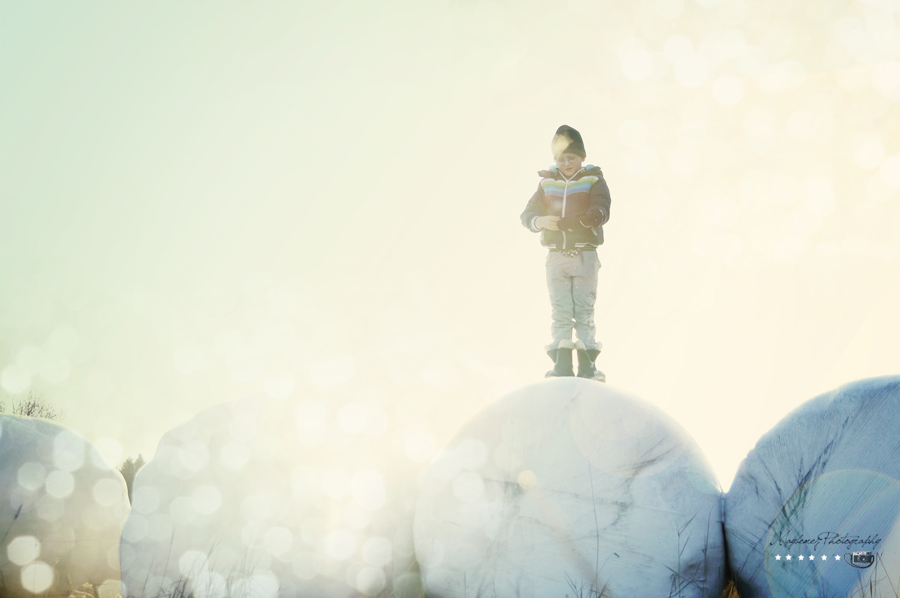
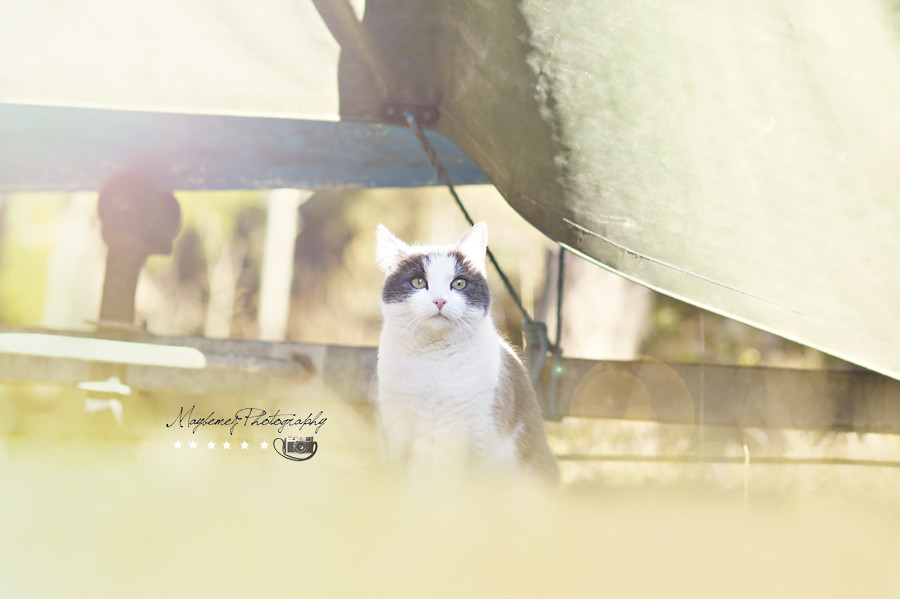
And of course, her beautiful photographs to inspire!


She is talented, right? 

Saturday, June 2, 2012

This week in Instagram...

I am so obsessed with Instagram, and I literally post a picture or two a day. My photo feed is up to over 500 pics! lol

In case you dont have instagram, here is some pics from my week :)

xoxo
K


Jonah and Grampa at the airport- on our way home from vacation
The view from our hotel balcony in St. Augustine


Having some fun with the new Cat Wang app lol

Jonah decided to swim naked, had to censor out the butt shot lol

My old grandma bulldog Lola

Our new backyard furniture... an oasis :)
Charlie Buckets, my little pug
Lola hating life as I dress her pretty :)
My parents new english bulldog Guinness, hes a sweetie with a huge tongue haha
Jonah enjoying some fruits and veggies while I am at work


Route 66 pink elephant antique shop...love this stand, Im obsessed with the 50's!


Charlie, contemplating life.
Jonah is obsessed with motorcycle toys!


Follow me on instagram! @Kristen365

Hope you all had an amazing week! xoxo

St. Augustine Florida

Hello!

We just got back from a wonderful little family vaca down in St. Augustine Florida. It was an amazing time, we had so much fun relaxing in the pool and soaking up the fresh beach air. Here are a few of my favorite shots I took during the trip :)

xoxo
Kristen